客户端开发中用到的最多的就是列表渲染的场景,官方提供了 UITableView 和 UICollectionView 来做,这些会导致 MassiveViewController 的问题,以及复杂列表配置繁琐的问题,所以我们会用第三方的列表渲染库,这些库基本上也是基于 UICollectionView 和 UITableView 的。这篇文章是介绍 IGListKit 的基础使用。
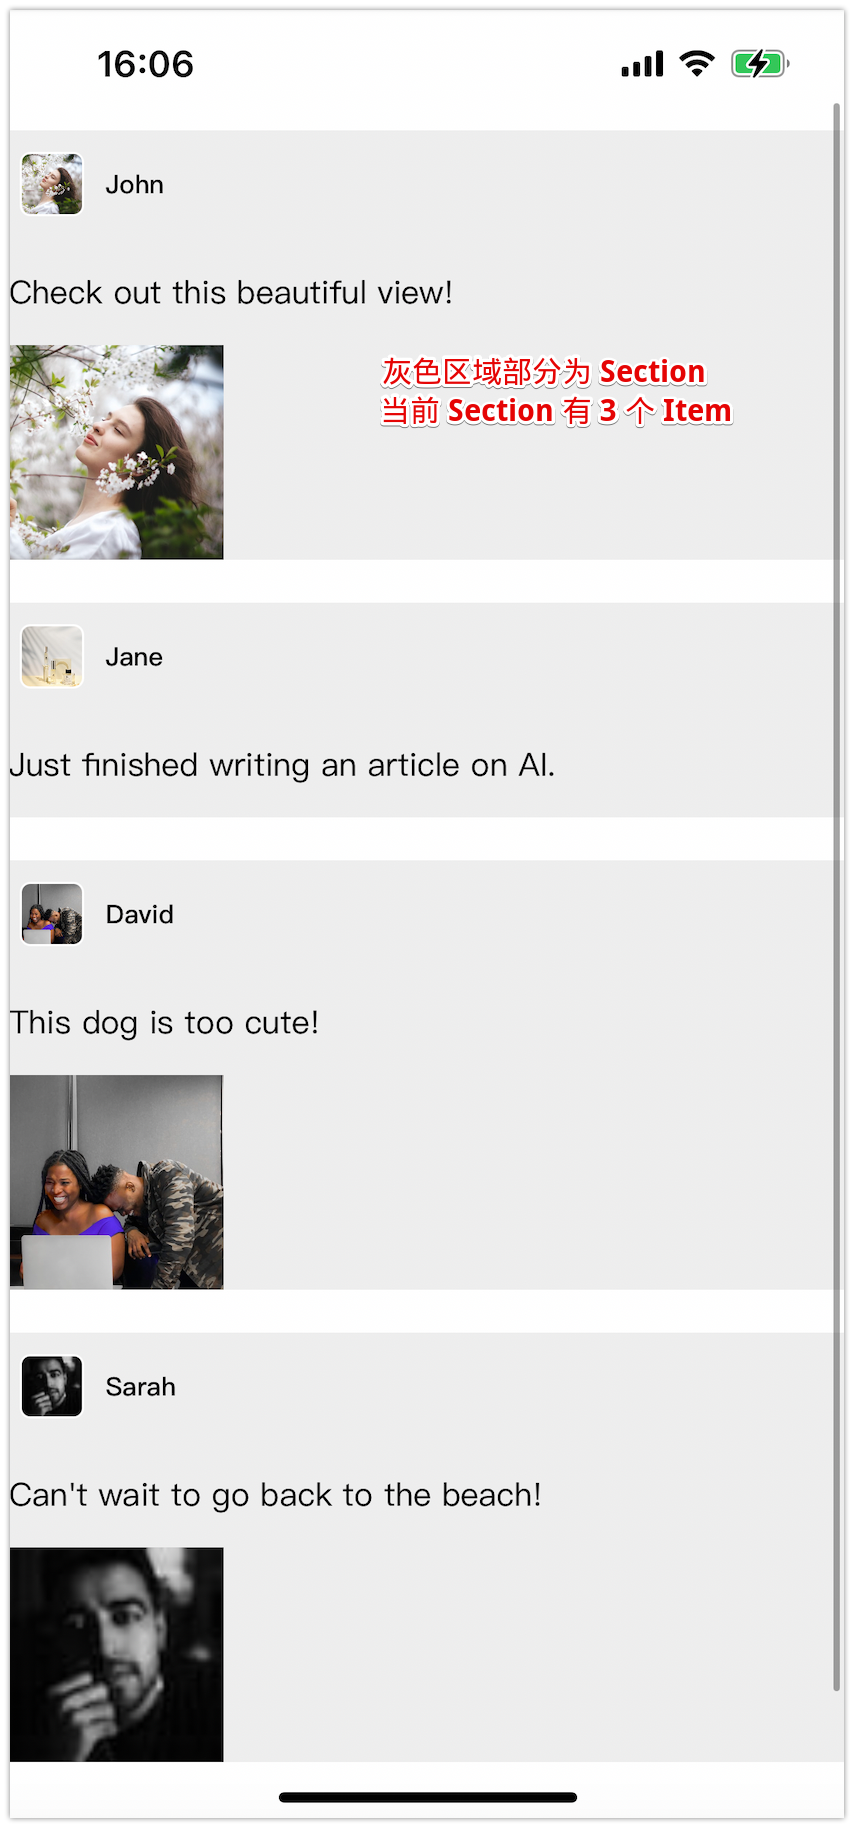
IGListKit 是基于 UICollectionView 去进行界面展示的。IGListKit 中大量用到 section,并引入 ListSectionController 的概念,每个列表中的元素对应一个 section,然后根据元素的具体的值去拆分为不同的 item 进行展示。
# 基础使用
使用过程中的主要对应的几个类
- 视图控制器。
- ListSectionController。
- 具体的 Item 视图,即自己实现的 UICollectionViewCell 的子类。
- 数据模型定义。
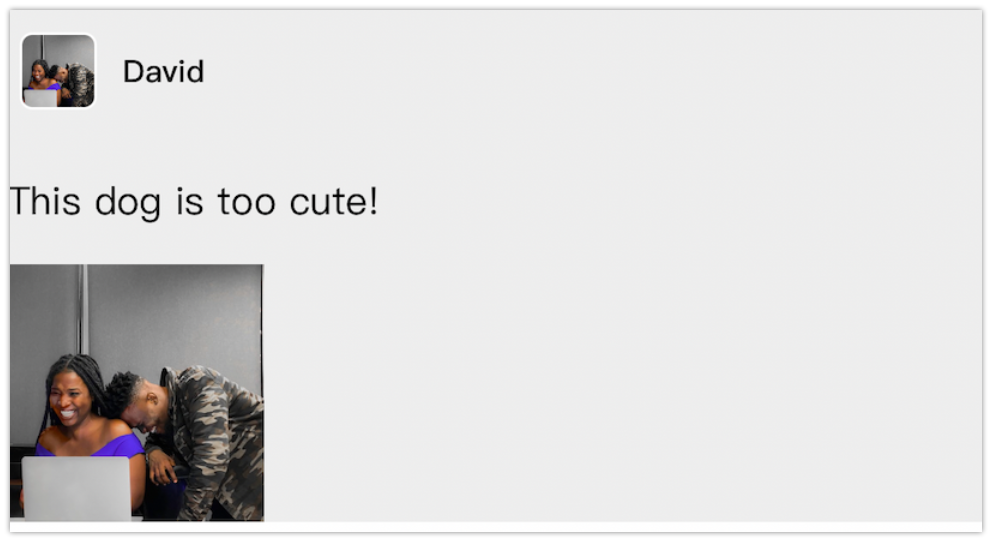
👇下面的例子使用一个帖子列表的场景,帖子的样式如下
# 数据模型定义
代码如下
enum FeedType:Int,Codable  {
    case kText = 1
    case kPic = 2
}

class Pic:Codable {
    var url:String?
    init(url: String? = nil) {
        self.url = url
    }
}

class Feed:Codable {
    var id:Int64?
    var name:String?
    var avatar:String?
    var type:FeedType?
    var content:String?
    var pic:[Pic]?
}

extension Feed: ListDiffable {
    func diffIdentifier() -> NSObjectProtocol {
        return "\(String(describing: id))" as NSObjectProtocol
    }
    func isEqual(toDiffableObject object: ListDiffable?) -> Bool {
        guard let feed = object as? Feed else { return false }
        return feed.diffIdentifier().isEqual(self.diffIdentifier())
    }
}
Note
- 正常进行数据定义就好了,需要额外注意的就是要遵守
ListDiffable协议,提供一个唯一标识符和判等方法,这个是 IGList 进行 diff 算法的判断依据。
# ListSectionController 配置
复写 ListSectionController 类,这个类主要是负责单个 Section 里应该有几个 item、这些 item 对应的视图类是什么,以及每个 item 的大小,这些需要复写的方法就是提供这些信息。
class FeedSectionController: ListSectionController  {
    var feed:Feed?
    override func didUpdate(to object: Any) {
        feed = object as? Feed
    }
    override func numberOfItems() -> Int {
        var count = 1
        if let _ = feed?.content { count = count + 1 }
        if let _ = feed?.pic { count = count + 1 }
        return count
    }
    override func cellForItem(at index: Int) -> UICollectionViewCell {
        if index == 0 {
            let basicInfoCell = self.collectionContext?.dequeueReusableCell(of: FeedBasicInfoCell.self, for: self, at: index) as? FeedBasicInfoCell
            basicInfoCell!.fillFeed(feed)
            return basicInfoCell!
        } else if index == 1 {
            let contentCell = self.collectionContext?.dequeueReusableCell(of: FeedContentCell.self, for: self, at: index) as? FeedContentCell
            contentCell!.fillFeed(feed)
            return contentCell!
        } else if index == 2 {
            let picCell = self.collectionContext?.dequeueReusableCell(of: FeedPicCell.self, for: self, at: index) as? FeedPicCell
            picCell!.fillFeed(feed)
            return picCell!
        }
        return UICollectionViewCell()
    }
    override func sizeForItem(at index: Int) -> CGSize {
        let width = UIScreen.main.bounds.width
        if index == 0 {
            return CGSize.init(width: width, height: 50)
        } else if index == 1 {
            return CGSize.init(width: width, height: 50)
        } else if index == 2 {
            return .init(width: width, height: 100)
        }
        return .zero
    }
}
Note
- 实现
didUpdate方法,完成数据和ListSectionController的绑定。 cellForItem:里是通过self.collectionContext来获取具体的 cell 实例,而不能通过UICollectionViewCell初始化的方式获取实例,同时和普通UICollectionViewCell需要去提前注册(register)的逻辑也不一样,直接去复用就好了。- 这里的
sizeForItem里的每个 itemSize 是写死的,只是方便演示,具体来说这里是可以根据数据来进行视图大小计算的。
# 具体的 Item 视图
这里用一个简单的视图 FeedBasicInfoCell 来举例子
class FeedBasicInfoCell: UICollectionViewCell {
    var avatarIV:UIImageView!
    var nameLabel:UILabel!
    override init(frame: CGRect) {
        super.init(frame: frame)
        avatarIV = imageView(imgName: "", superView: self.contentView)
        nameLabel = label(txt: "", color: "000000", fontName: .Medium, size: 12, align: .center, superView: self.contentView, lineNum: 1)
    }
    override func layoutSubviews() {
        super.layoutSubviews()
        avatarIV.pin.left(5).vCenter().width(30).height(30)
        nameLabel.pin.right(of: avatarIV).marginLeft(10).vCenter().height(30).sizeToFit()
    }
    required init?(coder: NSCoder) {
        fatalError("init(coder:) has not been implemented")
    }
    override func fillFeed(_ feed: Feed?) {
        avatarIV.sd_setImage(with: URL.init(string: feed?.avatar ?? ""))
        nameLabel.text = feed?.name
    }
}
Note
- 如果视图会根据填充内容的大小变化的话,需要对外提供一个方法来告诉外部自己的大小是多少,类似
sizeOfItem(data) - 填充数据 (fillData) 的方法后如果需要重新布局,则需要单独对视图进行 layout 一下。
# 视图控制器
视图控制器是把列表数据和 IGList 绑定在一起,视图控制器遵守 IGList 的数据源协议 ListAdapterDataSource,提供列表数据源,以及不同的列表元素对应不同 ListSectionController 的逻辑。
class FeedViewController: UIViewController,ListAdapterDataSource {
    var collectionView:UICollectionView!
    var feedList:[Feed] = [Feed]()
    var adapter:ListAdapter!    //要声明为成员变量,否则报错
    override func viewDidLoad() {
        super.viewDidLoad()
        collectionView = UICollectionView.init(frame: .init(x: 0, y: 0, width: 100, height: 100), collectionViewLayout: UICollectionViewFlowLayout())
        adapter = ListAdapter(updater: ListAdapterUpdater(), viewController: self)
        adapter.dataSource = self
        adapter.collectionView = collectionView
        self.view.addSubview(collectionView)
				//提供数据
        let url = URL.init(filePath: Bundle.main.path(forResource: "feed", ofType: "json")!)
        let data = try! Data.init(contentsOf: url)
        let feed = String.init(data: data, encoding: String.Encoding.utf8)
        if let tfeed = feed {
            self.feedList = try! JSONDecoder().decode([Feed].self, from: tfeed.data(using: .utf8)!)
            print(feedList)
            adapter.reloadData()
        }
    }
    override func viewDidLayoutSubviews() {
        super.viewDidLayoutSubviews()
        self.collectionView.pin.all()
    }
    func objects(for listAdapter: ListAdapter) -> [ListDiffable] {
        return feedList
    }
    func listAdapter(_ listAdapter: ListAdapter, sectionControllerFor object: Any) -> ListSectionController {
        let feedSectionCtrl = FeedSectionController()
        feedSectionCtrl.inset = UIEdgeInsets(top: 10, left: 0, bottom: 10, right: 0)
        return feedSectionCtrl
    }
    func emptyView(for listAdapter: ListAdapter) -> UIView? {
        return nil
    }
}
Note
- 在 VC 里面 adapter 要声明为成员变量而不是临时变量,否则后续 adapter 会被释放导致刷新会异常。
最终的渲染效果如下,代码仓库 👉 https://github.com/fanthus/IGListKitDemo (opens new window)
所以总的配置流程是从下到上,确定列表内数据模型,以及对应视图,基于此构造 SectionController,最后在视图控制器里完成列表数据源提供,以及数据和 SectionController 的配置关系。这儿有个需要注意的点是,如果预期列表中元素有多个类型的话,可以再多个类型外再包一层 Model,这样会解决列表中多个数据类型元素的问题。
以上就是就是 IGListKit 的最基本的配置使用,代码是比较粗糙有很多可以继续优化的地方,这些工作就交给大家,八仙过海,各显神通吧。
参考地址: